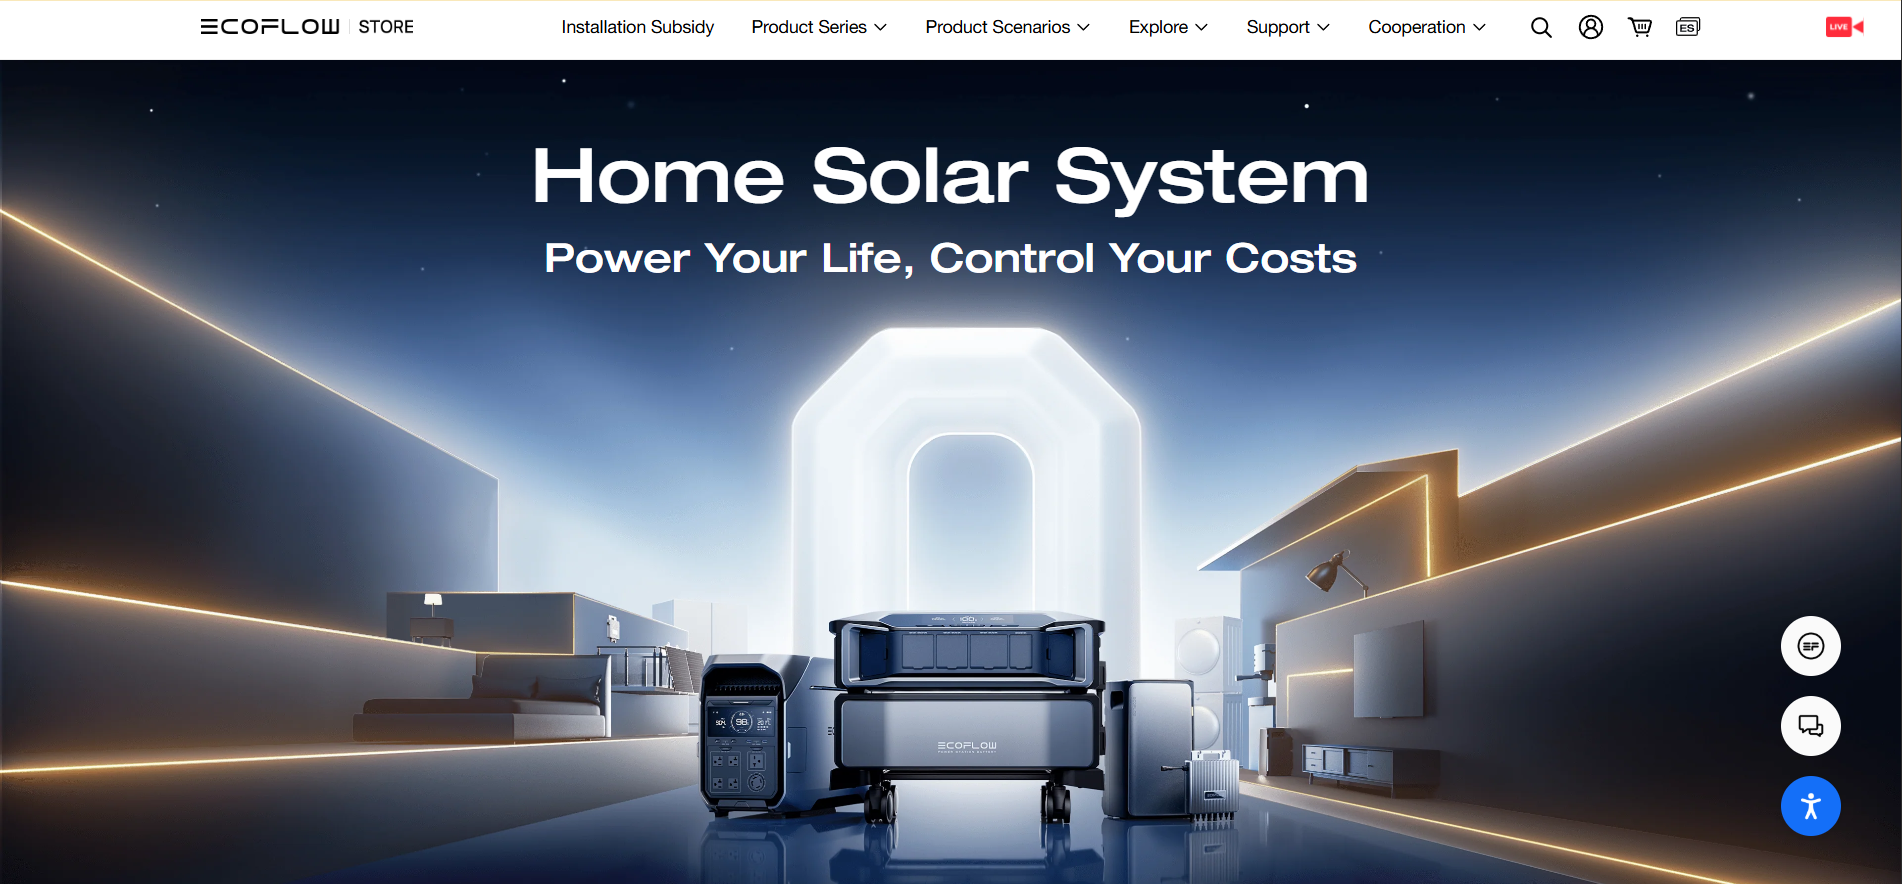
How to Integrate EcoFlow DELTA Pro Ultra with Rooftop Solar
Amid skyrocketing energy prices, and more frequent extreme weather conditions, homeowners are looking for reliable power options that seamlessly integrate with their existing solar systems. The difficulty comes in finding a battery system that not only pairs with rooftop solar installations, but also offers reliable backup power without a lot of bells and whistles.
For homeowners exploring energy storage solutions, EcoFlow has emerged as a leader in innovative power management technology. Their DELTA Pro Ultra system bridges the gap between traditional solar installations and modern energy storage needs, offering an intelligent approach to power management and emergency backup.
With cutting edge battery technology and intelligent integration, the DELTA Pro Ultra provides increased energy reliability, power security and convenience by seamlessly integrating with current rooftop solar systems. This book will guide you, step by step, to the easy installation and realization of the full potential of this system with your home solar system, allowing you to meet your every power management need.
Why EcoFlow DELTA Pro Ultra Revolutionizes Home Solar Systems
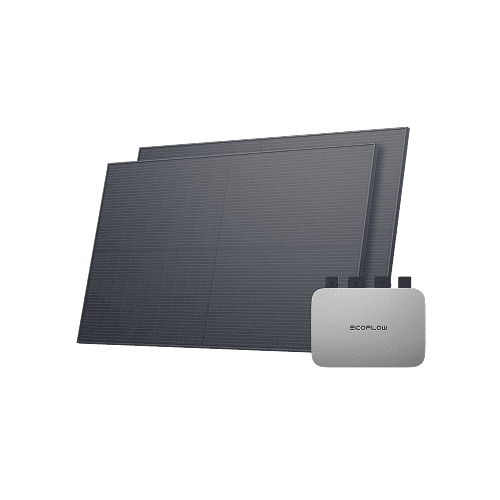
The DELTA Pro Ultra is truly on the frontier of home energy storage innovation, and continues the Home Energy Storage 2.0 revolution that gives homeowners never-before-seen ways to use their rooftop solar. This system provides unparalleled flexibility for mid-sized homes with an expandable capacity that extends storage capacity to 90KWh, enabling users to scale their storage product to match their energy usage over time. The 7200W solar input per controller gives superior solar system access and maximized charging efficiency throughout the day.

Unlike typical home solar systems that experience issues of sporadic power production and storage, the DELTA Pro Ultra circumvents these shortcomings with its remarkable design. Conventional systems can be cumbersome to install, and may be difficult to expand. In contrast, this solution offers professional level performance, but in a plug and play manner.
The system is ideal for medium sized homes in need of backup power, with output to backup most common appliances and power most two story homes. It is fast-switching to provide an uninterrupted flow of power to connected equipment, while virtually no gap is observed while transitioning as seen in conventional backup gateways. Contrasted with the abuse of old generators in action, DELTA Pro Ultra runs in silence, is fuel maintenance free, and produces no emissions, yet continues to lead with industry-leading energy efficiency via smart inverter technology and smart power management options.
Pre-Integration Planning: Compatibility and Safety Checks
It’s essential that comprehensive compatibility and safety checks are carried out prior to interfacing the DELTA Pro Ultra with your rooftop solar system. Start by looking at what you already have – panel and spec size, inverter power and the size of wiring. Record your system’s voltage output and make sure it meets the DELTA Pro Ultra’s input limits of 120V-240V. Be advised your solar array’s total peak power should not surpass the 7200W unit max solar input for optimal working conditions.
Some necessary safety items are insulated gloves, voltage testers, weather rated connectors, and appropriate circuit protection. You should also have in hand a basic toolkit of wire-stripping tools, a crimping tool, and a variety of sizes of electrical connectors. Check your solar system’s documentation or seek assistance from your installer to confirm compatibility with any existing MC4 connectors and potential need for adapters.
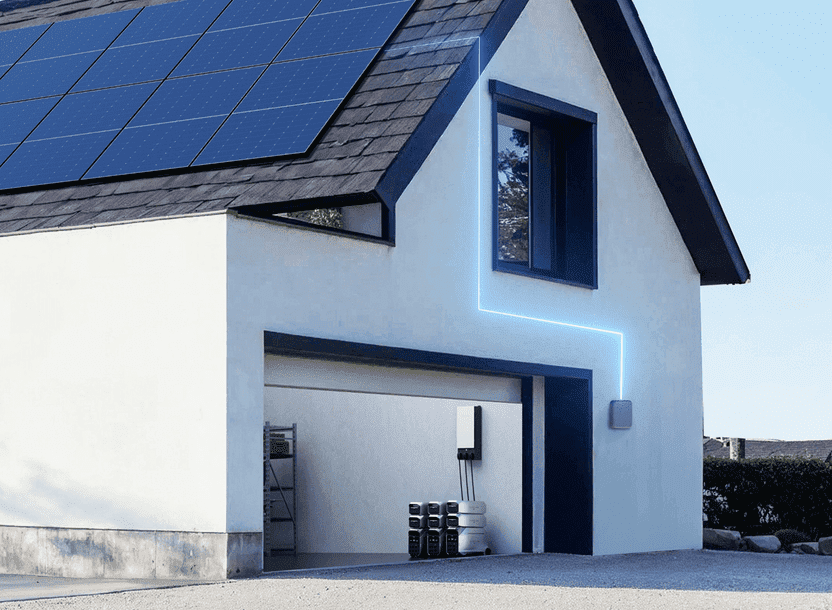
While deciding on where to install the DELTA Pro Ultra, look for a well-ventilated, weather-resistant area with easy access for maintenance. The unit must be within 15 feet of your electrical panel and have adequate space for heat dissipation. Factor in seasonal temperature changes — rare but not impossible — and the effect of extreme temperatures on battery performance and life.
Step-by-Step Integration Guide
Phase 1: Solar Input Configuration
Start the incorporation process by combining the DELTA Pro Ultra with your rooftop solar panel setup. Find your solar system’s MC4 connectors and plug them into the unit’s solar input ports. It’s best to check polarity before installation and to secure cables with UV-resistant cable ties to meet building codes. Set the MPPT mode via the app, which allows you to choose which types of panels or arrays the device can charge best.
Phase 2: Home Circuit Integration
Mount the Smart Home Panel next to your home’s main electrical panel, leaving space for the system to breathe. Find and disconnect your most important load circuits, such as refrigeration, heating/cooling and critical lighting. Wire these circuits to the specified terminals in the Smart Home Panel. Install your automatic transfer switch between your utility meter and the Smart Home Panel, securing all connections in accordance with local electrical codes.
Phase 3: System Testing & Optimization
To do this, once you have done your physical connections, perform a sequential test to assure that energy is flowing correctly from your solar array on the roof to the inverter and then into your home. Check the app to ensure that charging has been initiated. Test Back-Up Power Activation by running a simulation of the grid going out – the switch should switch from grid to back-up power within 20 milliseconds. Also, you can calibrate the system by touching the charge/discharge thresholds according to your own daily usage. Set up the Smart Home Panel to emphasize solar charging when sunshine is available and keep the right amount of reserve power on hand for emergencies. Conduct a whole systems test under a range of loading scenarios to verify proper operation of each component that incorporates the invention.
Maximizing Energy Efficiency Post-Integration
Strategic power management is a necessity if you are to maximize your integrated system. Via the app, schedule TRITON 3 to smart charge; that’s charging in off-peak electricity hours so around midnight or even early morning! This strategy will not only minimize your electricity bill, but also help preserve your system to have it operating at its most effective charge. Assign charging thresholds to have solar charging come first (peak daytime hours between 10am and 4pm) and only grid charge after that for minimum backup capacity.
Use the tiered load management strategy when power is interrupted. One approach is to identify and circumscribe critical loads, such as refrigeration and medical equipment, and assign them dedicated battery capacity. Next, you set secondary priorities for comfort appliances such as A/C or heat, and the computer turns them off in one room, while the system turns on in a different room. You can view current energy consumption – use these measurements to determine which devices consume more energy than others and make decisions regarding changing usage.
Seasonal changes are very important for the performance of the system. Summer-specific features include the option for setting solar charging windows to take advantage of longer days, and scheduling heavy loads such as pool pumps during high solar availability. And in winter, defer discretionary power use to shorter periods during solar generation, and adjust for the possibility of longer outage duration when determining backup power reserves. The app’s analytics provide routine monitoring to fine-tune those settings in conjunction with your family’s changing energy behaviors.
Troubleshooting Common Integration Issues
When experiencing volt drop faults, test the output from your solar array using a multimeter (at the MC4 connectors on the solar array cable). If the readings are erratic, consider examining the panels to ensure there are no loose wires or corroded connections. Replace poor contacts and dirty connections. If you are having a voltage problem, make sure that your controller is set to the same voltage settings as your panel through the app.
Solar charging interruptions often stem from communication issues between components. Reset the system by disconnecting all power sources for 30 seconds, then reconnect in sequence: solar input, battery, and finally grid connection. If interruptions continue, examine solar cable runs for damage and ensure MC4 connectors are fully seated. Clear any debris from panels and confirm they haven’t developed shading issues from nearby growth.
If the backup power does not engage, cycle power to your Smart Home Panel and look at the indicator lights for error codes. The Transfer Switch is Out of Position or Overloaded Common: The most common causes of these are misaligned transfer switches or overloaded circuits. Try to reset the transfer switch manually and check if critical load calculations do not have their usage more than the system size. For any firmware related issues, your system needs to be on the latest firmware through the app. If the updates are unsuccessful, please try to update via manual download in the app’s settings under a stable Wi-Fi network.
Powering the Future: Integration Success and Maintenance
Having the DELTA Pro Ultra in harmony with rooftop solar installations is a major breakthrough in home energy management for medium sized homeowners. By adhering to installation best practices and optimization recommendations, they can realize impressive gains in energy efficiency and confident standby power in the event of an outage. The system’s advanced technology bridges the gap between solar and power provision, enabling you to meet 21st century energy needs in a future-proof manner.
The easy to integrate, sophisticated power management makes this system an essential part of modern home energy systems. Keep track of your system’s performance with the app to check key system metrics and inspect each of the connections every month. Thoroughly timed maintenance visits can be scheduled to optimize efficiency throughout the changing seasons and keep the hardware up to date with the latest features and enhancements.
Leave a Reply