
How to Add an Animated Logo to Your Website, YouTube Intro, or Social Videos
A logo is often the first thing people notice about a business. It represents your brand, communicates your identity, and helps audiences recognize your company across different platforms. While a static logo can do this job effectively, an animated logo adds movement and visual interest that can make your brand presentation more engaging.
For website owners, content creators, and small businesses, adding a simple logo animation is an accessible way to improve digital branding. You do not need complicated video production skills or an expensive creative team to get started. With the right preparation and a suitable tool, you can turn an existing logo into a short animation for your website, YouTube channel, or social media content.
This practical guide explains how to create, prepare, and use an animated logo across different digital platforms.
Why Should You Use an Animated Logo?
An animated logo gives your brand a more dynamic appearance. Instead of displaying your logo as a fixed graphic, you introduce movement that can attract attention and create a more memorable visual experience.
There are several practical benefits:
- Improved brand recognition: Consistent logo animations help audiences associate particular visual elements with your business.
- More engaging introductions: A short animation can make the opening of a video feel more polished.
- Consistent branding: The same animated logo can be used across your website, YouTube videos, advertisements, and social media posts.
- Professional presentation: Subtle movement can make even a simple logo feel more refined and carefully designed.
However, animation should support your brand identity rather than distract from it. A clean, short animation is often more effective than one with too many effects.
Step 1: Prepare Your Logo Before Animation
Before creating an animation, make sure your original logo is suitable for digital use. The quality of the final result depends partly on the source image.
Ideally, use a high-resolution PNG with a transparent background or a vector file such as SVG. Transparent backgrounds make it easier to place the animation over different website colors and video backgrounds.
Consider these points when preparing your logo:
- Check that the logo is sharp and easy to recognize.
- Remove unnecessary backgrounds or decorative elements.
- Make sure the text remains readable at smaller sizes.
- Use your existing brand colors and typography.
- Keep a copy of the original logo for future edits.
If your logo contains very small text or complicated details, consider simplifying the animation. Fine details may become difficult to see when the animation is displayed on mobile devices.
Step 2: Choose an Animation Style
The next step is deciding how your logo should move. The animation style should match your business personality and the platform where you intend to use it.
Here are a few common approaches:
Fade-In Animation
A fade-in effect gradually makes the logo visible. It is simple, elegant, and suitable for corporate websites, professional services, and business presentations.
Zoom Animation
A zoom effect makes the logo gradually grow or move into position. It works particularly well for video introductions and promotional content.
Rotation Animation
A rotating logo can create an energetic visual effect. This approach may suit entertainment brands, gaming channels, and creative businesses, although it should be used carefully.
Reveal Animation
A reveal effect gradually uncovers different parts of the logo. It can create a more distinctive introduction without requiring complicated visual elements.
Motion-Based Animation
Some logos work well with moving lines, shapes, or individual graphic elements. These effects can add personality while keeping the original logo recognizable.
Before choosing an effect, think about your target audience and the overall tone of your brand.
Step 3: Create Your Animated Logo
Once your logo and animation style are ready, you can start creating the animation.
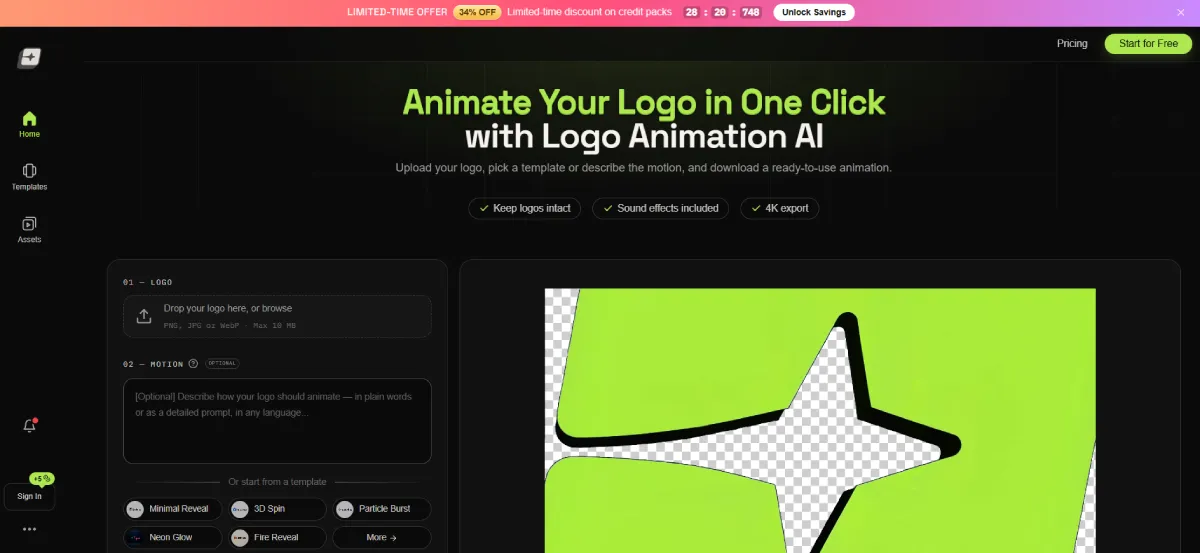
For small business owners and creators who do not have advanced editing experience, Logo Animation AI is one tool that turns a static logo into a short animated video. It provides an option for preparing an animated version of an existing brand graphic without building every animation element manually.
The general workflow is straightforward:
- Prepare your original logo file.
- Upload the logo to the animation tool.
- Choose an animation approach that suits your brand.
- Review the generated result.
- Make adjustments if necessary.
- Export the animation in a suitable video format.
Always check the finished animation before using it publicly. Make sure the logo is not distorted, the colors remain consistent, and the movement feels natural.
Step 4: Add the Animated Logo to Your Website
Your website is one of the most important places to maintain consistent branding. An animated logo can be used in different sections, but placement matters.
Use It in Your Website Header
A small animated logo in the header can make your website feel more interactive. However, avoid using a large or distracting animation that competes with navigation links.
For most business websites, a subtle animation that plays once when the page loads is a sensible choice.
Add It to Your Homepage
Another option is placing the animated logo in your homepage hero section. This can work well when your website focuses on visual storytelling, creative services, or product demonstrations.
Make sure the animation does not slow down the page or push important information too far down the screen.
Consider Performance and Accessibility
Website performance should always come first. Large video files can increase loading times, particularly for visitors using mobile connections.
To avoid unnecessary performance problems:
- Compress video files before uploading them.
- Use appropriate dimensions for the display area.
- Avoid autoplay with sound.
- Consider a static logo as a fallback.
- Respect visitors who prefer reduced motion.
For simple website headers, lightweight animation formats may be more practical than embedding a large video.
Step 5: Use Your Animated Logo in a YouTube Intro
YouTube creators can use animated logos to establish a recognizable opening for their videos.
A good introduction should be short and relevant. In most cases, a few seconds are enough to display your logo and introduce your channel identity.
For an effective YouTube intro:
- Start with a clean background.
- Introduce the logo using a simple movement or reveal effect.
- Add a short sound effect only if it fits your content.
- Display your channel name if it is not already included in the logo.
- Transition smoothly into the main video.
Avoid making the introduction unnecessarily long. Viewers generally want to reach the actual content quickly, so the logo animation should enhance the experience rather than delay it.
Step 6: Include Your Logo in Social Media Videos
Social media platforms provide another opportunity to use animated branding. Instagram Reels, TikTok videos, Facebook content, and YouTube Shorts all benefit from recognizable visual elements.
You can incorporate your animated logo in several ways:
- Place it briefly at the beginning of a promotional video.
- Add it as a small branding element near the end.
- Use it in product announcements.
- Include it in behind-the-scenes business content.
- Add it to short advertisements and service demonstrations.
Remember that social media content is usually viewed on mobile screens. Keep your logo visible without covering important video elements, captions, or platform interface controls.
It is also useful to create different versions for vertical, square, and horizontal video formats.
Step 7: Choose the Right Export Settings
Once your animation is complete, export it according to where you plan to use it.
Different platforms have different display requirements, so one version may not work perfectly everywhere.
PlatformRecommended approach
| Website | Lightweight video or suitable web animation |
| YouTube intro | MP4 video in 16:9 format |
| Instagram Reels | Vertical 9:16 format |
| TikTok | Vertical 9:16 format |
| YouTube Shorts | Vertical 9:16 format |
| Facebook videos | Format according to placement |
MP4 is a widely compatible choice for video content. For websites, consider file size, loading performance, and browser compatibility before selecting an animation format.
Keep an original high-quality export so you can create additional versions later without starting from scratch.
Common Mistakes to Avoid
Even a well-designed logo animation can become ineffective if it is used incorrectly.
Some common mistakes include:
- Overusing effects: Too many transitions, particles, and movements can make a logo difficult to recognize.
- Ignoring brand consistency: Changing logo colors or proportions can weaken your visual identity.
- Using low-resolution files: Blurry graphics reduce the quality of the finished animation.
- Making introductions too long: Lengthy logo sequences can frustrate viewers.
- Ignoring mobile users: Animations should remain clear on smaller screens.
- Forgetting website performance: Large files can negatively affect page loading speed.
The best approach is to keep your animation simple, recognizable, and appropriate for its intended use.
Final Thoughts
An animated logo is a practical addition to a modern digital branding strategy. Whether you manage a business website, publish YouTube videos, or create social media content, a short animation can help make your brand presentation more consistent and engaging.
Start with a clear, high-quality logo, select an animation style that reflects your brand, and prepare separate versions for different platforms. Pay attention to file size, mobile display, and accessibility when adding the animation to your website.
Most importantly, remember that an animated logo does not need to be complicated to be effective. A few well-planned movements can create a polished introduction while keeping your original brand identity at the center.


Leave a Reply